Prepare Your Device for Shipping to GoRoostr
Getting paid fast depends on one thing: your device must arrive unlocked, signed out, and reset (when possible). Use the list below to find your device type and follow the exact steps.
Quick rules (applies to every device)
- Back up anything you want to keep (photos, files, passwords).
- Remove any account lock (Apple ID / Find My, Google account FRP, Samsung account lock, Microsoft work/school management, etc.).
- Factory reset (recommended).
- Remove SIM cards and memory cards (we can't guarantee return of SIM/SD cards left inside).
- After resetting, stop at the setup screen (that's perfect).
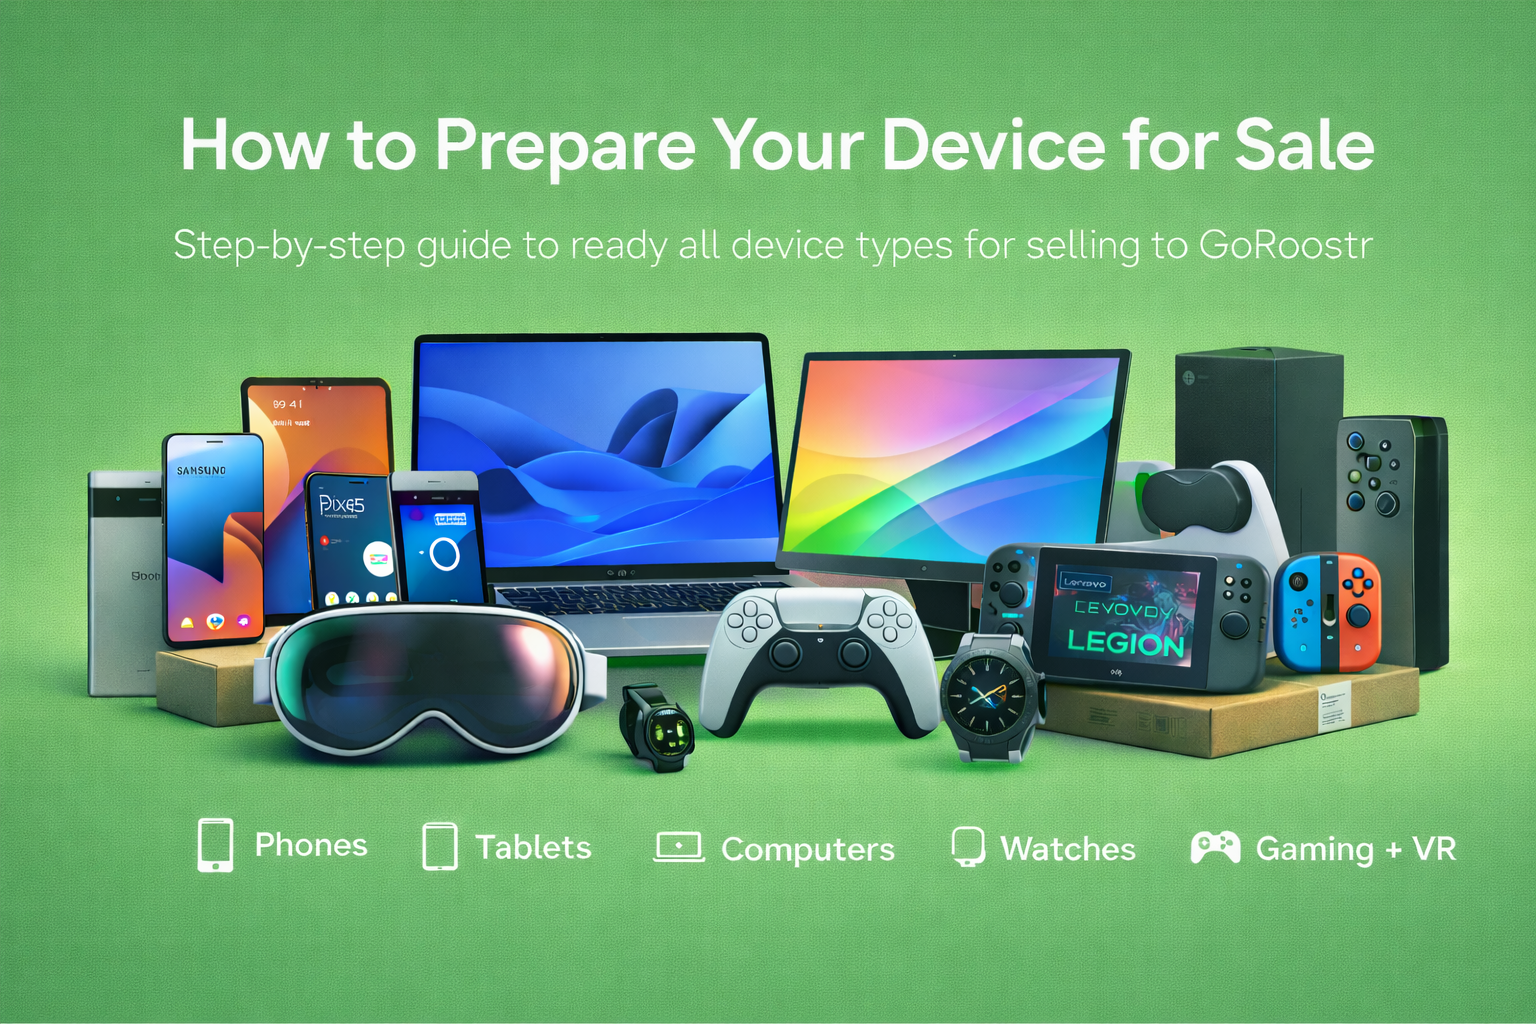
The type of devices we have instructions for:
Phones
- Apple iPhone
- Samsung Galaxy phones
- Google Pixel phones
- Motorola Razr
- Other Android phones
Tablets
- Apple iPad
- Android tablets
- Microsoft Surface tablets
- Other Windows/PC tablets
Computers
- Apple MacBook
- Apple iMac
- Apple Mac mini
- Apple Mac Studio
- Apple Mac Pro
- Windows laptops
- Windows desktops
- Chromebooks
Watches
- Apple Watch
- Samsung Watch (Galaxy Watch)
- Google Watch (Pixel Watch)
Gaming consoles & handhelds
- Xbox
- PlayStation
- Nintendo Switch
- Steam Deck
- Lenovo Legion Go
VR / AR
- Apple Vision Pro
- Meta Quest
- Valve Index
- PlayStation VR / PS VR2
- Other VR headsets (generic)
Scroll down to find your device type to find the specific instructions for your device:
Phones
Apple iPhone
1) Turn off Activation Lock (Find My iPhone) - required
Settings -> your name (Apple ID) → Find My → Find My iPhone → toggle OFF
Enter your Apple ID password if prompted.
2) Sign out of Apple ID
Settings -> your name → Sign Out
3) Factory reset
Settings -> General → Transfer or Reset iPhone → Erase All Content and Settings
4) Remove SIM
Remove your SIM card and keep it.
Notes:
- If Find My is still on when it arrives, inspection and payment can be delayed and your offer may be revised.
Samsung Galaxy phones
1) Remove Google account (reduces FRP lock)
Settings → Accounts and backup → Manage accounts → Google → Remove account
2) Remove Samsung account
Settings → Accounts and backup → Manage accounts → Samsung account → Remove
3) Turn off Samsung “Find My Mobile” / Reactivation Lock (if shown)
Settings → Security and privacy (or Biometrics and security) → Find My Mobile → disable
4) Factory reset
Settings → General management → Reset → Factory data reset
5) Remove SIM / microSD
Remove SIM and microSD card (if present).
Google Pixel phones
1) Remove Google account (reduces FRP lock)
Settings → Passwords & accounts (or Accounts) → Google → Remove account
2) Factory reset
Settings → System → Reset options → Erase all data (factory reset)
3) Remove SIM
Remove SIM card and keep it.
Motorola Razr
Motorola uses standard Android protections (Google FRP).
1) Remove Google account (recommended)
Settings → Passwords & accounts (or Accounts) → Google → Remove account
2) Factory reset
Settings → System → Reset options → Erase all data (factory reset)
3) Remove SIM
Remove the SIM card and keep it.
Other Android phones (generic)
1) Remove Google account(s) (recommended)
Settings → Accounts → Google → Remove account
2) Factory reset
Settings → System (or General management) → Reset → Factory data reset
3) Remove SIM / microSD
Remove SIM and microSD (if present).
Important:
- Many Android phones will re-lock after reset if a Google account was still on the device. That's Factory Reset Protection (FRP).
Tablets
Apple iPad
1) Turn off Find My iPad — required
Settings → your name → Find My → Find My iPad → OFF
2) Sign out of Apple ID
Settings → your name → Sign Out
3) Factory reset
Settings → General → Transfer or Reset iPad → Erase All Content and Settings
4) Remove SIM (if cellular)
Remove cellular SIM and keep it.
Android tablets
1) Remove Google account(s) (recommended)
Settings → Accounts → Google → Remove account
2) Remove manufacturer account (if applicable)
Example: Samsung account on Galaxy Tab.
3) Factory reset
Settings → System → Reset options → Erase all data (factory reset)
4) Remove microSD (if present)
Remove and keep your microSD card.
Microsoft Surface tablets (Surface Pro / Go / Laptop Studio as applicable)
Surface devices are Windows devices. Two common issues slow payouts: BitLocker and work/school enrollment.
1) Disconnect work/school access (very important)
Settings → Accounts → Access work or school
If connected to an organization, disconnect it if you have permission.
2) Disable BitLocker/device encryption (recommended if enabled)
Settings → Privacy & security → Device encryption or BitLocker → turn off
3) Reset Windows (“Remove everything”)
Settings → System → Recovery → Reset this PC → Remove everything
(Cloud download or Local reinstall is fine.)
4) Stop at the setup screen
Once you see the Windows first-time setup screen, power off.
Other Windows/PC tablets (generic)
Follow the same steps as Microsoft Surface:
- Disconnect work/school access
- Disable BitLocker/device encryption if enabled
- Reset this PC → Remove everything
- Stop at setup screen
Computers (Apple)
Apple MacBook
Apple iMac
Apple Mac mini
Apple Mac Studio
Apple Mac Pro
Use the same prep process for all Macs. The goal is: no Find My / Activation Lock, signed out of Apple ID, and wiped.
1) Sign out of Apple ID / iCloud
System Settings (or System Preferences) → Apple ID → Sign Out
2) Turn off Find My Mac / Activation Lock — required
System Settings → Apple ID → iCloud → Find My Mac → OFF (wording varies)
3) Erase the Mac (recommended)
If you're comfortable wiping it, use the built-in erase workflow.
Apple silicon (M series chips) — Quick Reset (Recommended)
Option A (Preferred): Erase All Content and Settings (System Settings)
- Click the Apple menu () → System Settings
- Go to General → Transfer or Reset
- Click Erase All Content and Settings
- Follow the prompts to confirm and enter your Mac password / Apple ID password if asked
- When the Mac restarts, it should boot to the macOS setup screen — you're done (power it off)
- Note: This is the fastest way to wipe an Apple silicon Mac. If the Mac asks you to turn off Find My / sign out of Apple ID, complete those prompts during the erase flow.
- Shut down the Mac
- After it is completely powered off, press and hold the Power button until you see Loading startup options
- Click Options → Continue
- In the Recovery window, select Erase Mac (if shown)
- Follow prompts until it restarts to the setup screen
Intel Macs: Restart → hold Command + R → Disk Utility → Erase Macintosh HD → reinstall macOS
4) Stop at setup screen
Once it boots to the macOS setup screen, shut down.
Important: If the Mac was owned by a company/school, it may be under MDM/Apple Business Manager and can re-lock after wiping. See “Managed devices” below.
Computers (Windows)
Windows laptops (Dell / HP / Lenovo / ASUS / Acer / MSI / Razer / etc.)
1) Disconnect work/school access (very important)
Settings → Accounts → Access work or school → disconnect (if applicable)
2) Disable BitLocker/device encryption (recommended)
Settings → Privacy & security → BitLocker or Device encryption → turn off
3) Reset this PC
Settings → System → Recovery → Reset this PC → Remove everything
Choose Cloud download or Local reinstall.
4) Stop at setup screen
Once you see the Windows setup screen, power off.
Windows desktops (Dell / HP / Lenovo / custom PCs, etc.)
Same steps as Windows laptops:
- Disconnect work/school access
- Disable BitLocker/device encryption if enabled
- Reset this PC → Remove everything
- Stop at setup screen
Chromebooks (Acer / HP / Lenovo / Dell / etc.)
Chromebooks are frequently school/enterprise managed. A reset won't remove management enrollment.
1) Check if it's managed (important)
If you see “Managed by …” anywhere (login screen or settings), it may be enrolled.
2) Powerwash (factory reset)
Settings → Advanced → Reset settings → Powerwash
3) If it re-enrolls automatically
That means the device is still managed by an organization and may require their IT department to release it before resale.
Watches
Apple Watch
1) Unpair from your iPhone — required
On iPhone: Watch app → All Watches → (i) next to watch → Unpair Apple Watch
This removes Activation Lock and resets the watch.
If you no longer have the paired iPhone:
- You can erase the watch from the watch itself, but Activation Lock may remain until removed from your Apple ID.
Samsung Watch (Galaxy Watch)
1) Remove from Samsung Wearable app
Open Galaxy Wearable app → select your watch → Remove device / Unpair
2) Factory reset the watch
Watch Settings → General → Reset (wording varies by model)
Google Watch (Pixel Watch)
1) Unpair from phone
Pixel Watch app → Unpair / Remove
2) Factory reset
Watch Settings → System → Disconnect & reset (or Reset)
Gaming consoles & handhelds
Xbox (Series X|S / One)
1) Remove your account — recommended
Settings → Account → Remove accounts → remove your profile
2) Factory reset
- Settings → System → Console info → Reset console
- Choose the option that removes everything.
PlayStation (PS5 / PS4)
1) Sign out of PSN (recommended)
Settings → Users and Accounts → sign out
2) Factory reset
PS5: Settings → System → System Software → Reset Options → Reset Your Console
PS4: Settings → Initialization → Initialize PS4 (Full)
Nintendo Switch
1) Remove your Nintendo account (recommended)
System Settings → Users → select user → delete user (if appropriate)
2) Factory reset
System Settings → System → Formatting Options → Initialize Console
Notes:
- If you have digital games you want to keep, make sure you understand Nintendo account implications before deleting users.
Steam Deck
1) Sign out (recommended)
Settings → Users → sign out of Steam account
2) Factory reset
Settings → System → Factory Reset
Lenovo Legion Go
This is a Windows handheld PC.
- Disconnect work/school access (if any)
- Disable BitLocker/device encryption (if enabled)
- Reset this PC → Remove everything
- Stop at Windows setup screen
VR / AR
Apple Vision Pro
1) Remove from Apple ID / turn off Find My — required
On Vision Pro: Settings → Apple ID → Find My → turn off (wording may vary)
Also remove the device from your Apple ID device list if available.
2) Factory reset
Settings → General → Transfer or Reset → Erase all content and settings (wording may vary)
3) Stop at setup screen
After reset, it should boot to the initial setup.
Meta Quest (Quest 2 / Quest 3 / Quest Pro)
1) Remove headset from your Meta account (recommended)
In the Meta Quest app or your Meta account device settings: remove device
2) Factory reset
From headset: Settings → System → Reset → Factory reset
Or from mobile app: Devices → Advanced settings → Factory reset
Valve Index
Valve Index typically isn't “account locked” the way phones are, but you should:
- Remove your SteamVR pairing/profile if applicable
- Pack carefully (lenses scratch easily; use a microfiber cloth and protect the headset)
PlayStation VR / PS VR2
1) Remove user/profile association (recommended)
On the PlayStation, remove the user profile and reset the console if selling as a set.
2) Pack carefully
Protect lenses and avoid pressure on the headset optics.
Other VR headsets (generic)
General prep:
- Factory reset through the headset's system settings (if supported)
- Remove any linked account in the companion app (if applicable)
- Pack lenses and controllers separately and securely
Managed devices (school/company devices) — read this if applicable
If your device came from an employer, school, hospital, or government agency, it may be managed and can re-lock after reset.
Common examples:
- Apple MDM / Apple Business Manager / Apple School Manager
- Microsoft Intune / Autopilot / Azure AD
- Chromebook Enterprise Enrollment
If your device is managed, you must have the organization remove management before resale. If it arrives managed/locked, inspection and payment will be delayed until it is removed.
After you ship
After FedEx shows “Delivered,” we inspect within 1 business day. If the device matches the order details and is not locked, payment is issued the same business day once inspection is complete.